Excel Format Borders
Format Borders
Borders can be added and removed. Colors and style can be changed.
Why format borders?
- Make the document more readable and understandable
- Emphasizing key points
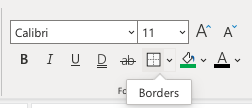
The Borders menu is accessed in the Ribbon, in the Font group.

The button remembers the border you used last time.
Adding Borders
Borders are added by clicking the Borders button.
The default border is black underline.
Changing the border type, style or color is a choice you make.
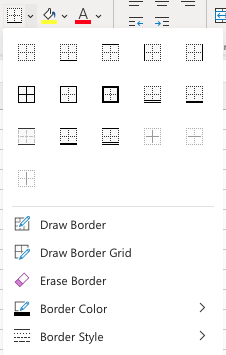
The option button next to the Border command gives options for more types of borders.
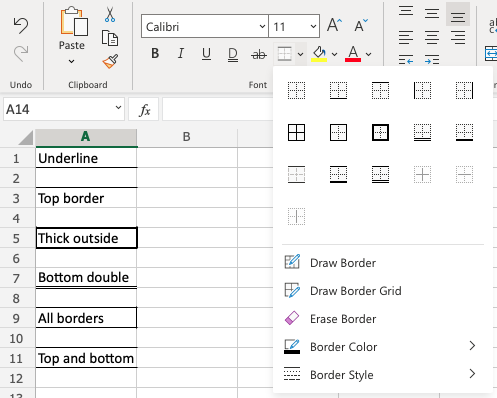
Clicking the option button gives an overview of the different border options.

Example:

Border Colors
Colored borders are added by selecting a color before adding the border.
The color can be changed in the Border Color menu:

Example:

Border Style
Borders styles can be changed.
The menu is accessed in the Border Style menu.
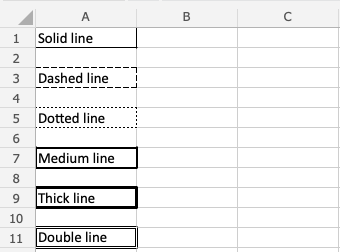
Excel offers 6 different border styles:
- Solid line
- Dashed line
- Dotted line
- Medium line
- Thick line
- Double line

Chapter Summary
Borders can be added with different colors and styles. The border button remembers the border settings used the last time. The options are accessed from the border options button, next to the border button.
In the next chapter you will learn about Number formats.

