Excel Ranges
Ranges
Range is an important part of Excel because it allows you to work with selections of cells.
There are four different operations for selection;
- Selecting a cell
- Selecting multiple cells
- Selecting a column
- Selecting a row
Before having a look at the different operations for selection, we will introduce the Name Box.
The Name Box
The Name Box shows you the reference of which cell or range you have selected. It can also be used to select cells or ranges by typing their values.
You will learn more about the Name Box later in this chapter.
Selecting a Cell
Cells are selected by clicking them with the left mouse button or by navigating to them with the keyboard arrows.
It is easiest to use the mouse to select cells.
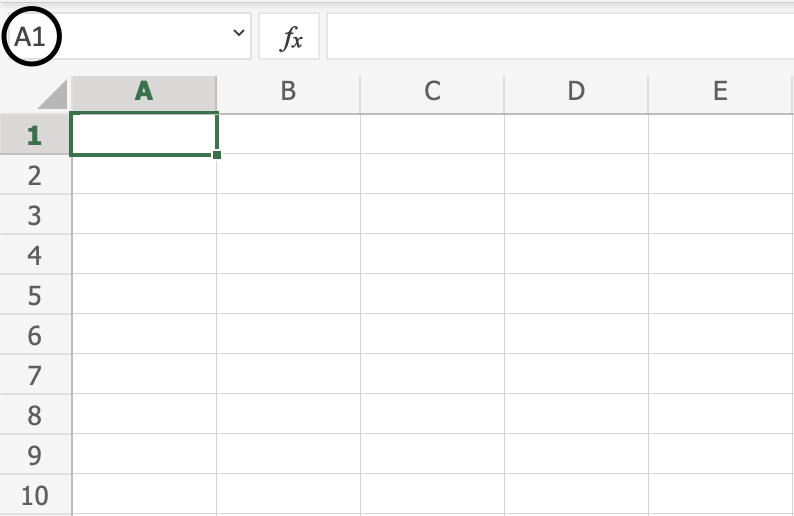
To select cell A1, click on it:
Selecting Multiple Cells
More than one cell can be selected by pressing and holding down CTRL or Command and left clicking the cells. Once finished with selecting, you can let go of CTRL or Command.
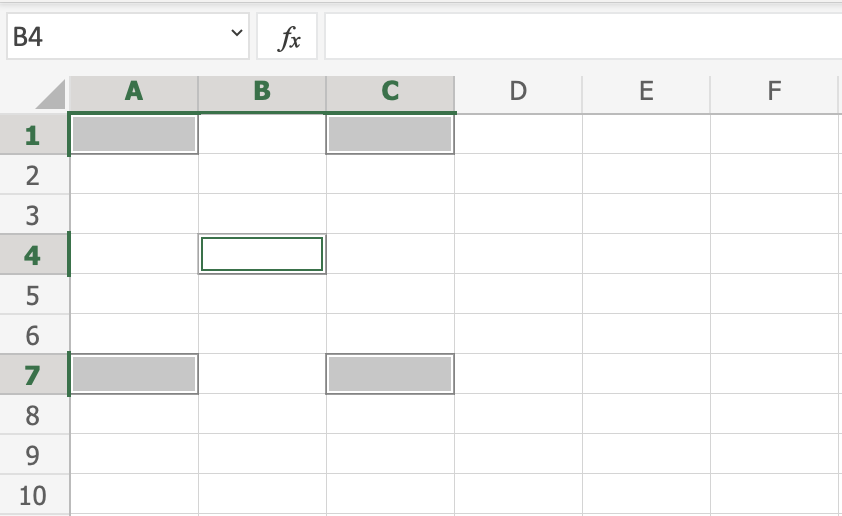
Lets try an example: Select the cells A1, A7, C1, C7 and B4.
Did it look like the picture below?
Selecting a Column
Columns are selected by left clicking it. This will select all cells in the sheet related to the column.
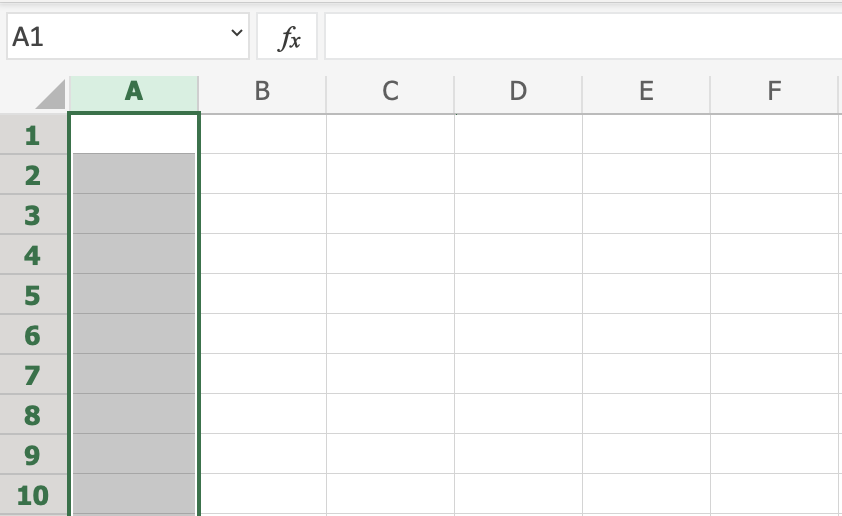
To select column A, click on the letter A in the column bar:
Selecting a Row
Rows are selected by left clicking it. This will select all the cells in the sheet related to that row.
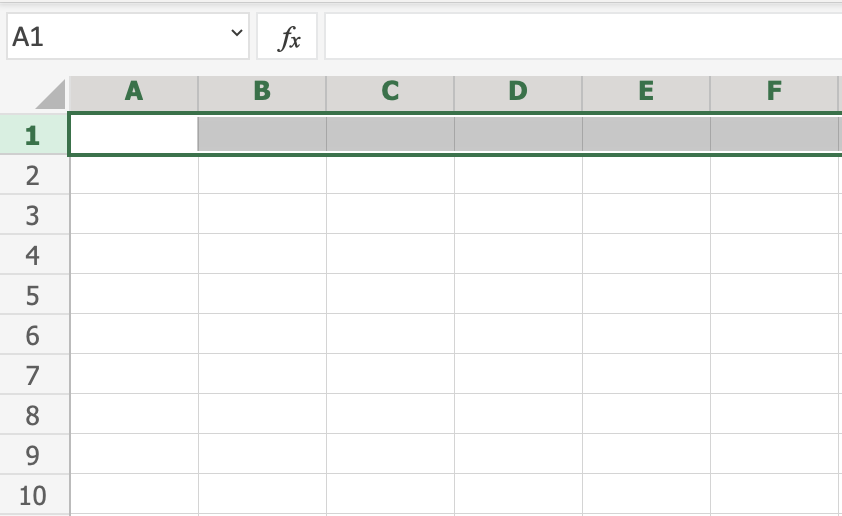
To select row 1, click on its number in the row bar:
Selecting the Entire Sheet
The entire spreadsheet can be selected by clicking the triangle in the top-left corner of the spreadsheet: ![]()

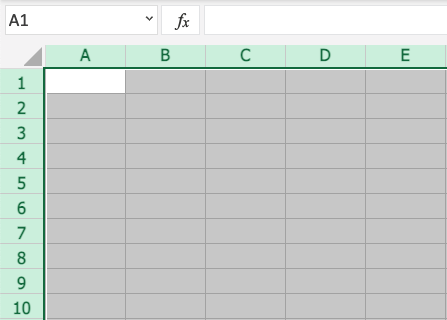
Now, the whole spreadsheet is selected:
Note: You can also select the entire spreadsheet by pressing Ctrl+A for Windows, or Cmd+A for MacOS.
Selection of Ranges
Selection of cell ranges has many use areas and it is one of the most important concepts of Excel. Do not think too much about how it is used with values. You will learn about this in a later chapter. For now let's focus on how to select ranges.
There are two ways to select a range of cells
- Name Box
- Drag to mark a range.
The easiest way is drag and mark. Let's keep it simple and start there.
How to drag and mark a range, step-by-step:
- Select a cell
- Left click it and hold the mouse button down
- Move your mouse pointer over the range that you want selected. The range that is marked will turn grey.
- Let go of the mouse button when you have marked the range
Let's have a look at an example for how to mark the range A1:E10.
Note: You will learn about why the range is called A1:E10 after this example.
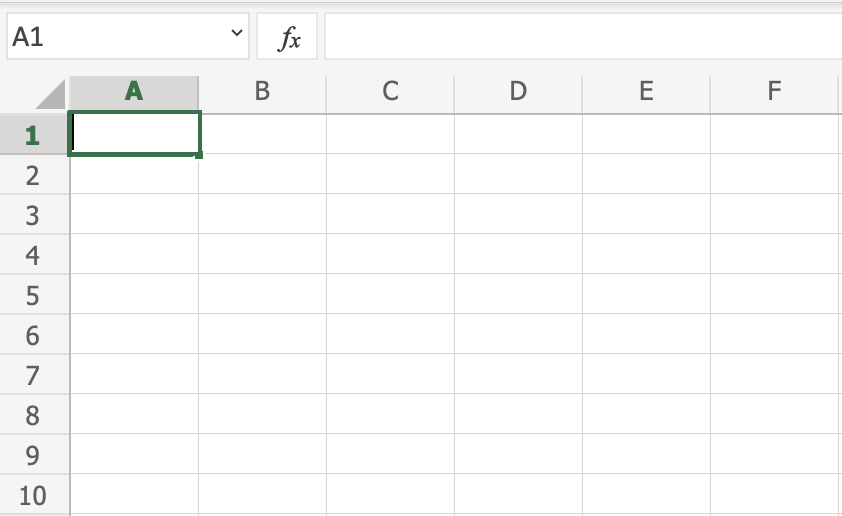
Select cell A1:
Press and hold A1 with the left mouse button. Move to the mouse pointer to mark the selection range. The grey area helps us to see the covered range.
Let go of the left mouse button when you have marked the range A1:E10:
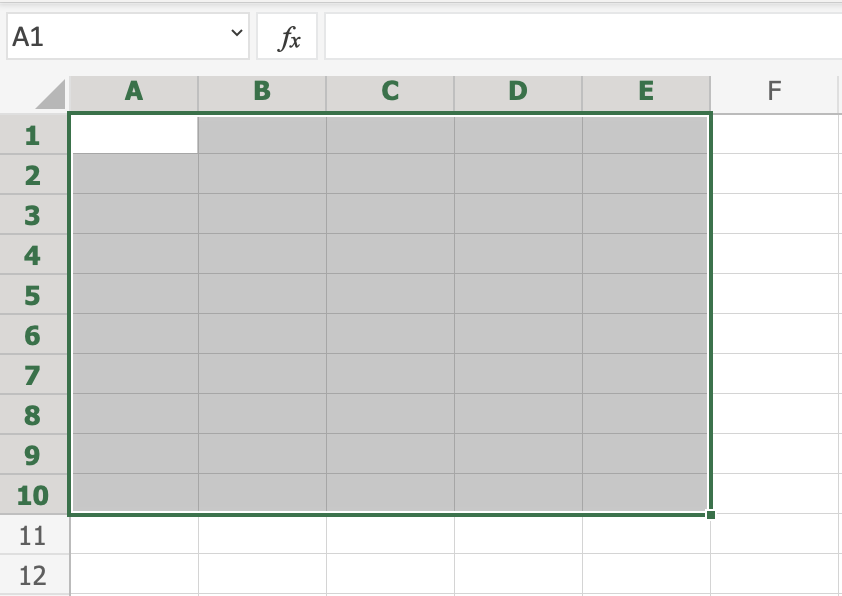
You have successfully selected the range A1:E10. Well done!
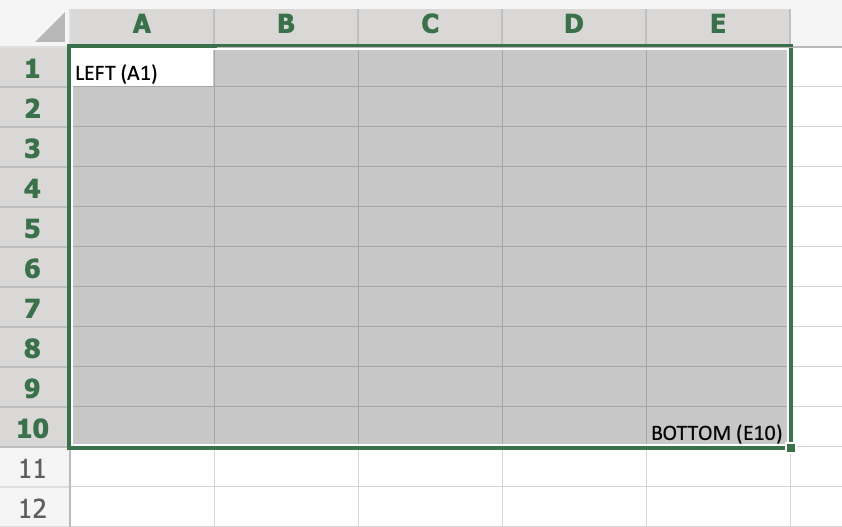
The second way to select a range is to enter the range values in the Name Box. The range is set by first entering the cell reference for the top left corner, then the bottom right corner. The range is made using those two as coordinates. That is why the cell range has the reference of two cells and the : in between.
Top left corner reference : Right bottom corner reference
The range shown in the picture has the value of A1:E10:
The best way for now is to use the drag and mark method as it is easier and more visual.
In the next chapter you will learn about filling and how this applies to the ranges that we have just learned.

